CSS
CSS stands for Cannot Stop Styling…
“CSS actually stands for CASCADING STYLE SHEETS”
because that’s what you do with CSS, you style your website or application. By style, we mean you set the rules that are applied to the content of your site in order to change the default presentation.
Imagine:
Our application serves this data to the client at startup, a collection of 50 photos.
{
  count: 50,
  photos: [{
    _id: '47d2chdxb2s69d',
    userId: 'we8gy74ho48b',
    thumbnail: '/photos/thumb/47d2chdxb2s69d',
    path: 'photos/47d2chdxb2s69d',
    title: 'Super Stellar',
    description: 'Lorem Ipsum...'
  }, {1...}, ..., {49...}],
  prev: null,
  next: '/feed?limit=50&offset=50'
}
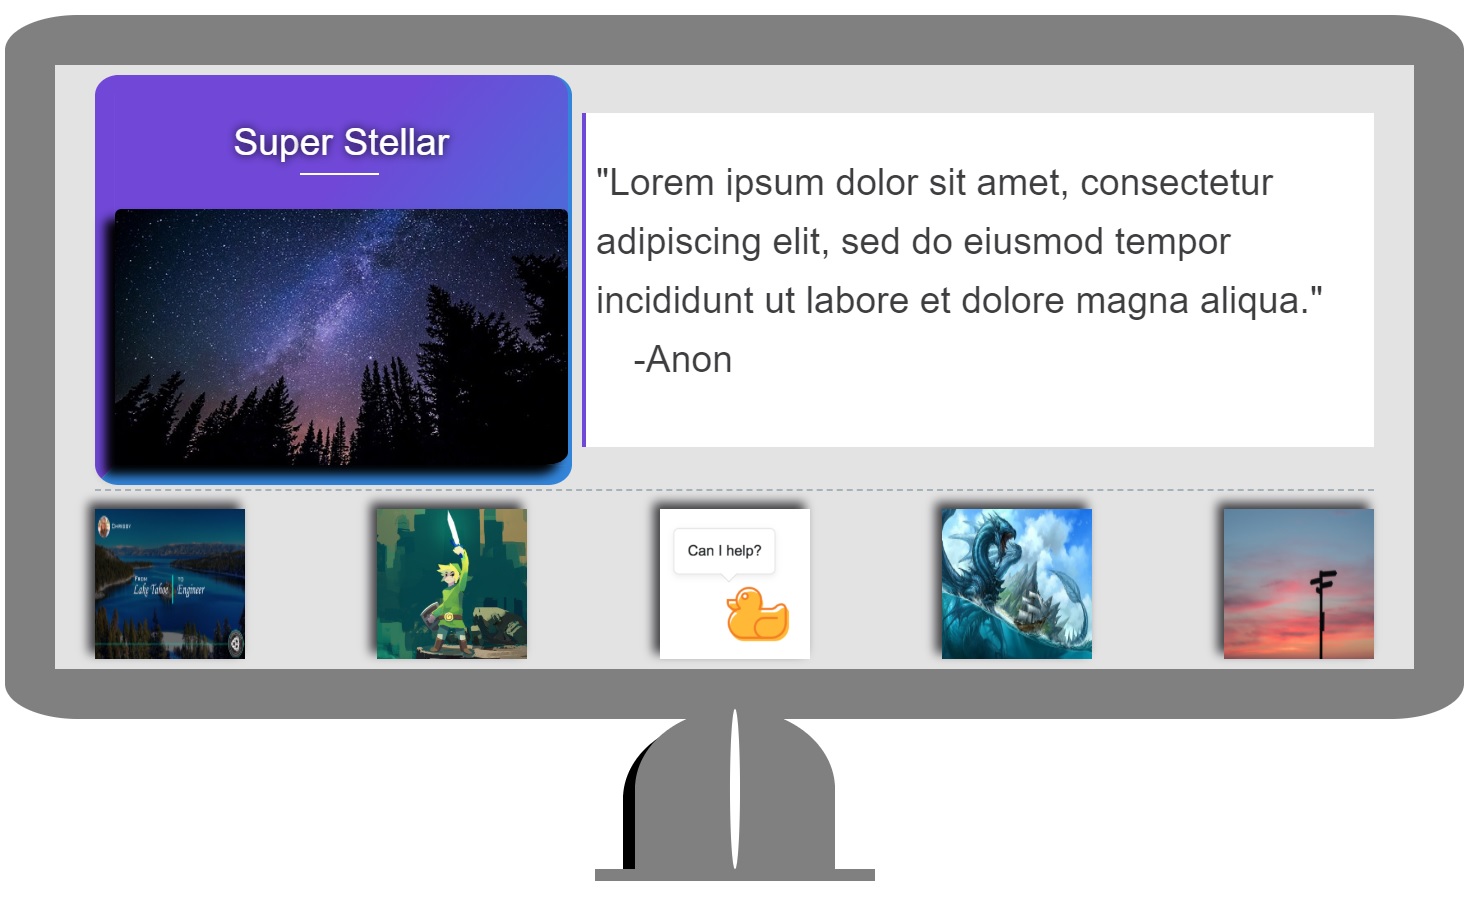
If we present the data without CSS then we could expect an outdated looking site.
Super Stellar

"Lorem ipsum dolor sit amet, consectetur adipiscing elit, sed do eiusmod tempor incididunt ut labore et dolore magna aliqua." -Anon
| More photos v
vs
With CSS
Super Stellar
"Lorem ipsum dolor sit amet, consectetur adipiscing elit, sed do eiusmod tempor incididunt ut labore et dolore magna aliqua."
-Anon


<Link> it up
We’ll cover three ways one could incorporate CSS into their project:
1. External Reference
Note, this is generally best practice.
<html lang="en">
<head>
	<meta charset="UTF-8">
	<meta name="viewport" content="width=device-width, initial-scale=1.0">
	<meta http-equiv="X-UA-Compatible" content="ie=edge">
	<title>CSS Tricks</title>
  <!-- This is the external reference below -->
  <link rel="stylesheet" href="assets/style.css">
  <!-- -------------------------------------- -->
</head>
<body>...</body>
</html>
Rembmer that our browser is reading code within the index.html file from top to bottom. None of our other files will have an affect on our site unless we explicity tell the browser to pull in those additional files.
We utilize the <link> tag in order to have the browser read the specificed file, the value of the link tag’s href attribute. Here we see that we are trying to load into our project a file called style.css that’s located within a sibling folder to our index.html, namely assets.
This is generally the best practice because we adhere to the S in the SOLID principles - Single Responsibility. Our index.html is responsible for content and our style.css is responsible for how that content is presented. Our code is now easier to read and maintain resulting in quicker debugging and less bugs overall.
2. Internal Style
Note, this way will look familar when we start using the Vue framework and write in .vue files. (Further note that Vue is an exception to what’s detailed below the code snippet.)
<html lang="en">
<head>...</head>
<body>
  <h1>Hello World</h1>
</body>
  <!-- This is the internal style below -->
<style>
body {
  background: #f60;
}
h1 {
  color: white;
}
</style>
<!-- -------------------------------------- -->
</html>
Although this practice works, it’s not ideal because we broke the Single Responsibility principle. Instead of having all of our css rules organized away in their own file, we utilized the <style> tag to house our css rules. It’s in between the <style> tags that the computer stops interpreting the lines as html and instead interprets them as CSS.
Note, that although we broke a SOLID principle, we didn’t drastically increase the specificity* of a css rule, which is exactly the issue with using inline style as highlighted below.
* More on css specificity in a moment.
3. Inline Styling
Note, don’t ever do this. Seriously.
<html lang="en">
<head>...</head>
<body>
  <!-- This is the inline style below -->
  <h1 style="color: blue;">Hello World</h1>
  <!-- -------------------------------- -->
</body>
</html>
Without diving fully into specificity, know that it’s because inline styling increases the specificity of a rule to such an extremely high number that it’s next to impossible to override.
Additionally, because the rule is applied to the element directly without the use of a selector, there’s no way to quickly modify the value of a property and have the change reflected in multiple elements.*
* We’ll discuss css rules and their components - selectors, properties, and values - in the next lesson.
How to write CSS?
CSS Rules
Let’s look at a example template to get an understanding of what the syntax for a css rule looks like
selector {
  property: value;
}
and immediately follow it up with a working css rule
body {
  background: #f60;
}
Selector {
The selector is used to target specific elements on the DOM. In the second example we see that the selector was body. When a selector is just a name without any punctuation marks or symbols, eg., ., #, [], then the rule is applied to any elements on the DOM with that tagName.
In the above example we see that we are setting the background of our website to be the color orange. This is because the selector is targeting the <body> tag and all of our content is rendered within that tag.
Common Selectors
| selector | elements targeted |
|---|---|
| example | every element with the tagName "example" |
| .example | every element with "example" in their classList |
| #example | the element with the id "example" |
| [required] | every element with the attribute `required` present - utilizing []'s is commonly combined with additional selectors eg., `.username[required]` |
| [href="#"] | every element with a `href` attribute whose value is "#" |
| example:hover | the element with the tagName "example" that is also at that same time being hovered over - this is an example of a `pseudo-selector` |
| and more... | css diner |
Property:
Just as selectors are used to specify which elements to target, properties are used to specify how to modify the presentation of the targeted element. In our example above we see that the background of the body is being modified, namely the background is being set to orange.
Common Properties
| property | modification to element's presentation |
|---|---|
| color | font/text color |
| background | background presentation eg., color, gradient, image, etc. - this property has overloads available determined by number of values provided * more info on overloads in the Value section below |
| height & width |
these two properties set the size of the element |
| margin & padding |
space between edge of element and border, and edge of border and content respectively - these property have overloads available determined by number of values provided ** more info on overloads in the Value section below - study the box model! |
| display & position |
how and where the element should be rendered and if it is or isn't part of the default render process |
| and more... | common properties |
Value;
After targeting both the element and the property of the element to modify, we use values to specify exactly how to modify the presentation. In the example above we see that the value used was #f60. This is the hexcode value for the color orange. In this specific example we could have used other units of color to assign the presentation of the background, eg., rgba, name of the color, linear-gradient, etc. Depending on the property your assigning, there might be several different units that could be utilized by the value, eg., px, em, rem, vh, vw, %, etc.
In some cases we might want the element to be modified in the same way as its parent element. In such cases we can use css value keywords, specifically inherit. Other keyword examples are auto, initial, unset, none.
Some properties, like background and margin for example, allow for a variable amount of values to be assigned. This is overloading. Let’s look at a specific example with margin:
| 10px; | 10px of space applied to every side of the element |
| 10px 5px; | 10px of space applied to the top & bottom and 5px of space applied to the left & right |
| 10px 3px 5px; | 10px of space applied to the top, 3px applied to the left & right, 5px applied to the bottom |
| 10px 3px 0px 5px; | 10px of space applied to the top, 3px applied to the right, 0px applied to the bottom, 5px applied to the left |
common units for values
| Modification | Available Units |
|---|---|
| spacial | px, em, rem, vh, vw, % - pixels are the least responsive of the units listed |
| color | literal name of the color, hex-code, rgba, linear-gradient |
| background | same units as color plus, url(), blur(), and others |
| and more... | more units |
Now that we know how to write CSS let’s learn about specificity to ensure that our rules are, in fact, being applied as we think they should be.
CSS Specificity
one rule to rule them all
Specificity is built into css to determine which rule should be applied in the chance that multiple rules are targeting both the same element and property on that element, but assigning different values.
In order to understand specificity, I hope your good at math. We’ll start with this base understanding that y = x2 + C and that interval [a, b] if F(x)…
Only joking, don’t be afraid! You actually only have to be able to pick out the largest number from a set.
Let’s look at some css to start understanding specificity!
div {
  background: red;
}

div {
  background: green;
}
Let’s imagine that our div is simply a square on the page and that the css rules above are assigning the color of our square. Remembering that our code always runs top to bottom, what color will our square be?
Nice Work!
Now let’s imagine that our div also has “box” in its classList. Our css looks like this
.box {
  background: red;
}

div {
  background: green;
}
Still remembering that our code always runs top to bottom, what color will our square be now?
Gotcha!
Our code still ran from top to bottom like it always does and yet the first rule remained in effect throughout the code’s execution. This is a case of specificity overruling load order. Our first rule’s selector is targeting an element with the class “box”, whereas the second rule is targeting an element with the tagName “div”. Well, tagName’s are only worth 1 point and classes are worth 10, 10 is greater than 1, so the first rule is the one that produces the affect.
Let’s list out the values of different selectors:
| selector | example | value |
|---|---|---|
| tagName | span | 1 |
| class | .title | 10 |
| id | #app | 100 |
| attributes | [required] | 10 |
| some pseudo-elements | :after & :before | 1 |
| other pseudo-elements | :hover | 10 |
Now that we’re learned on the specificity value of selectors, let’s look at another bit of css code still referrencing our colored square.
div.box {
  background: purple;
}

.box {
  background: red;
}

div {
  background: green;
}
What color is our square now?
Tricky!
We remember that tagName selectors are worth 1 and that class selectors are worth 10, so a selector that includes both a tagName and a class is worth 11! Every individual selector thats combined to target an element adds their value to the cummulative value for the complex selector.
Understanding this what is the specificity value of this selector?
span#title.text-white:hover
One hundred and twenty one!
Whoa, adding up the values of complex selectors can get difficult real quick. Luckily we have the Specificity Calculator to help us!
!important property and inline-style
Check out our last code example. We’re using the same colored box.
div.box {
  background: purple;
}

.box {
  background: red;
}

div {
  background: green!important;
}
Do you know the color of the box now?
Icky!
“Though technically !important has nothing to do with specificity, it interacts directly with it. When an important rule is used on a style declaration, this declaration overrides any other declarations.” - MDN
In like manner inline-style always overwrite any styles in external stylesheets (except !important’s).
Both of these avenues for styling are bad practices and should in almost all cases be avoided. You need to know about them, but that doesn’t mean you should use them.
Let’s end on a bit of comic relief