Welcome to SQL
SQL is an industry standard language for data management. The language consists of commands that enable us to create tables of information. It’s helpful to imagine a collection within a SQL database as a spreadsheet in Microsoft Excel, where rows are complete objects (e.g., book) and columns are specific properties (e.g., title, author, etc.).
Continuing with this analogy, each individual square of data on the table has a maximum memory size. Because of this our SQL databases become strongly dependent on relationships. In other words, we create entire tables called relational tables whose inserts contain identifiers to specific objects located on other tables, and it’s on these referenced objects that all of the data users care about will be saved.
SQL databases are relational databases whereas NO-SQL databases, like MongoDB, are document databases.
Additionally, we can insert, update, select and remove data (among other commands) in order to create our web of relationships within the data.
Establishing a Connection
We’ll be using VSCode as our text editor and GearHost as our Database as a Service (DBaaS) provider. Go ahead and register for a free account on GearHost if you don’t already have one.
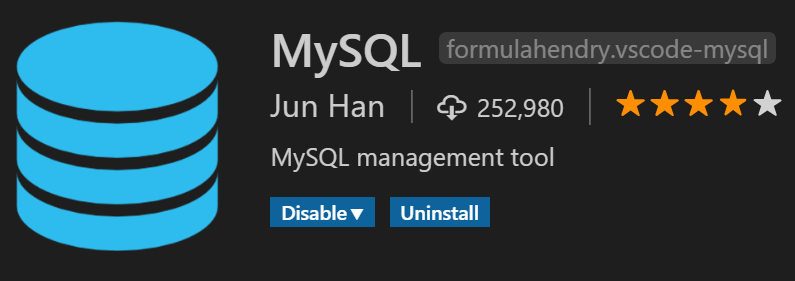
In GearHost let’s create a new database. Make sure to select a MySql database! It should have this logo:
![]()
Excellent. After creating your db you should be directed to a page like this:
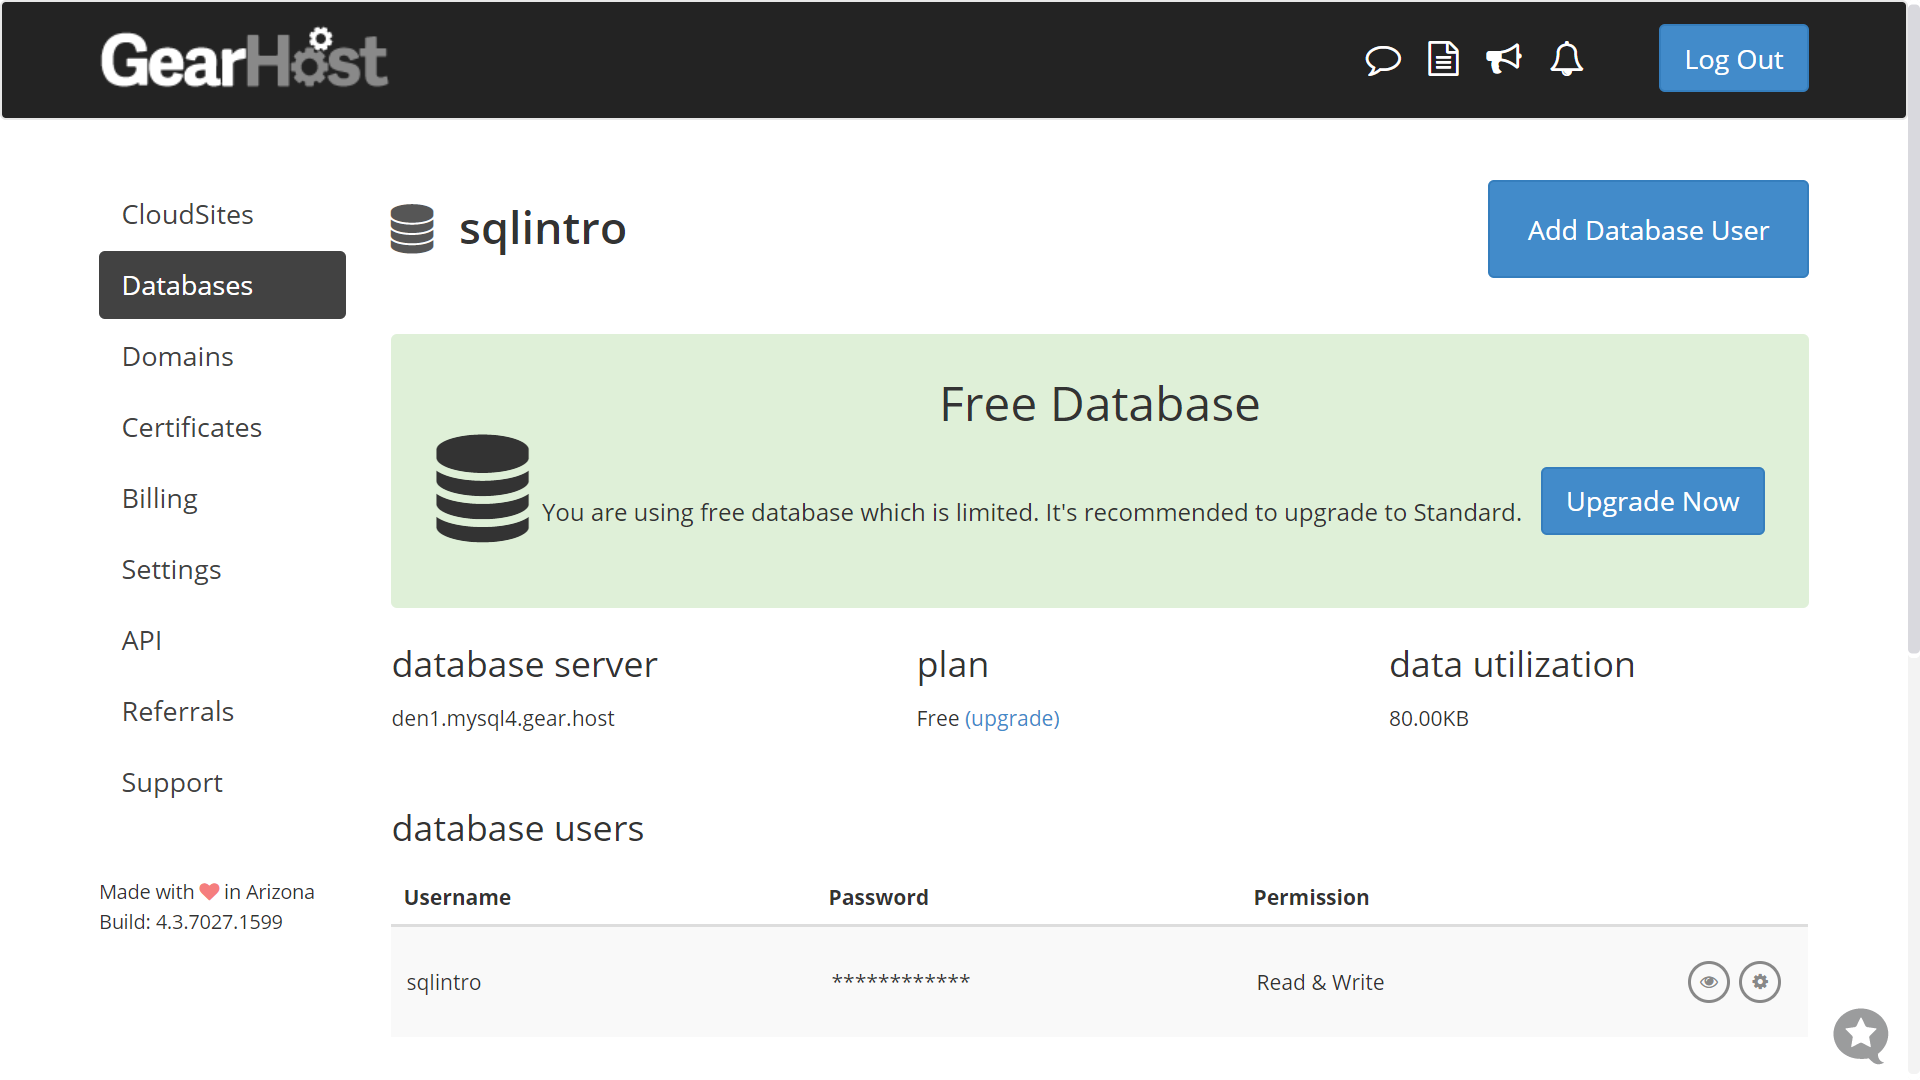
We’ll keep this page open so we have access to all of the credentials when we need them in just a moment. Now let’s go ahead and create a new project folder and open it with VSCode.
With our instance of VSCode open, let’s navigate to the extensions tab on the left sidebar. We’ll search for MySql by Jun Han.
After installing the extension, our file explorer tab in the left sidebar will be populated with a new collapsable section named MYSQL. Hovering over this section bar makes a + sign visible. Click it to establish a connection to a Sql server that in turn will be able to communicate with multiple databases.
We should now see an input field at the top of our VSCode like so:

The MYSQL extension will progress us through a chain of input fields like this one to populate with the correct credentials which we have readily available on our gearhost database page. Here’s what you should enter into each input field that pops up.
Input Description
Credential Value (via GearHost)
- Host database server
- User
- Password (toggle the visibility with the eye button left)
- Port Default Value
3306is fine - SSL Certificate Path (optional) We’ll omit/leave empty for now
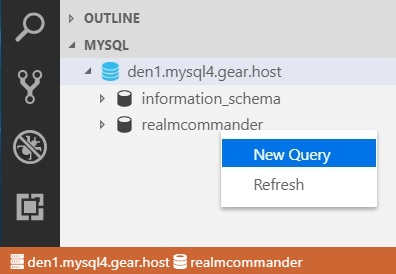
If all the credentials were entered correctly, we should see a new server connection in the MYSQL section of our of file explorer. When we click the dropdown arrow to the left of the server name two databases will become available to us. The information_schema will always be included for each server connection by default. It holds SQL information that the MYSQL extension will utilize in the background for us. The other database will be your actual database that you’ve created on GearHost. Go ahead and right click on this database and select New Query. Congrats, you’re all set to begin the next lesson!
Basic SQL Commands
In this section we will discuss basic SQL commands for:
- Creating a table
- Inserting records into a table
- Removing records from a table
- Deleting tables
- Deleting all records from a table
- Altering Tables
- Adding columns to an existing table
- Altering columns on an existing table
- Altering an existing record on a table
SQL commands in VSCode
To run sql commands from vscode you will want to make sure that the appropriate server and databse are selected by the extenstion. You can do this by clicking the expand arrow on the sql server you want to use then by right clicking on the database and selecting new query. This will create a new file for you that you can save with the .sql extension. You will also note now that down on the bottom bar in vscode you will see the server and database icons listed.
Making Tables
Now that your database is connected to your project and you have a .sql file pulled up, you can start creating tables where you can store your data. The command CREATE TABLE tablename will allow you to create a table. You can also add properties to it in enclosed parantheses, with each property name followed by the property type (SQL is a strongly typed language, so you do need to specify the type of each property). Multiple properties will need to be seperated by commas. Let’s create our first table:
CREATE TABLE houses(
  id int NOT NULL,
  description VARCHAR(255) NOT NULL,
  rooms int,
  bathrooms int,
  isSold TINYINT DEFAULT 0
);
We now have a table with 5 columns on it: id, name, rooms, bathrooms, and isSold. Id is of int type, and the NOT NULL keywords indicate that it is required. Description is of type VARCHAR which indicates that it is a type string, and the numbers in parenthesis indicate how much space in memory that property can take up (it does not specifify character length, but indicates byte size). Both rooms and bathrooms are of int type and they are not required. The column isSold is of type TINYINT which is often used interchangeably for a boolean value. Zero values are considered to be false, while nonzero values are considered to be true. The DEFAULT keyword following the TINYINT type allows you to set a default value every time you insert a record into the table; in this case every time you create a record the isSold column will default to 0 (or false) unless otherwise specified.
Inserting data into a table
Now that we have created a table, let’s add some data to it. The following command and format:
INSERT INTO tablename (columnName1, columnName2)
VALUE (valueForColumn1, valueForColumn2);
will allow you to insert a row of data into your table. So, if we wanted to create a new house we would do the following:
INSERT INTO houses (id, name, rooms, bathrooms)
VALUE (1, "Beautiful Hill-Top Home", 4, 3);
We did not need to specify a value for isSold; it will automatically be created and filled with the default value we provided.
Important to Note - You need to comment out or delete previous commands every time you run a new command; otherwise it will try to repeat the uncommented out commands. For instance, if you tried to insert a new house into your house table, but you did not comment out your
CREATE TABLEcommand, it will try to create another table calledhouseand you will throw an error because that table has already been created.
-- comment
Removing Rows from Tables
Let’s say that you want to remove a house from your houses table. The command syntax to remove a row of data from a table is as follows:
DELETE FROM tablename
WHERE condition;
So if we wanted to remove the row that we just created, you could target it by its id number and use the command:
DELETE FROM houses
WHERE id = 1;
Important to Note - In SQL, the single
=operator is NOT considered an assignment operator. It checks for equality. If you didWHERE id == 3you WILL throw an error because==isn’t an operator in Sql.
Deleting entire tables
If you needed to delete an entire table, you could do so using the command:
DROP TABLE tablename;
So, following our example so far, if you wanted to delete the houses table you would use (if you’re coding along, you might not want to delete your entire table right now):
DROP TABLE houses;
However, you will not be able to retrieve the data after you delete it.
Deleting all rows from a table
It is also possible to delete all rows from an existing table, while leaving the table and its columns in tact. There are two ways to do this:
DELETE FROM table_name;
or
TRUNCATE TABLE table_name;
If you were to do:
DELETE FROM houses;
 --or
TRUNCATE TABLE houses;
This would leave the house table without any data entered into it, but it would still be a table named houses with the columns: name, id, rooms, bathrooms, and isSold.
The benefit of using TRUNCATE TABLE over DELETE FROM is that the the truncate command is generally faster and it will also reset any AUTO_INCREMENT fields you have back to zero (we will touch on AUTO_INCREMENT a little bit later).
Altering a table
Suppose you don’t want to delete your entire table and start over from scratch. There are a few different ways to alter your table. Say you’re a realtor and you’re not just selling houses anymore but you’re also selling apartments and condos. So maybe instead of a “houses” table you want a “listings” table. The command to rename a table is:
RENAME TABLE tableName TO newTableName;
So to change the name of our houses table to listings we could do:
RENAME TABLE houses TO listings
Add a column to an existing table
Now that we have changed the table name from “houses” to “listings” we might want to add a column where we can specify what type of residence each listing is (i.e., house, apartment, condo, duplex…etc) To add this new column to our table we would use the following command:
ALTER TABLE listings
ADD residencetype VARCHAR(255);
Alter an existing column
You can also alter an existing column on a table by using the command:
ALTER tableName
CHANGE `oldColName` `newColName` DATATYPE;
Using our listing example, you could update the “name” column to “title” (which is somewhat more descriptive than ‘name’) by doing the following:
ALTER listings
CHANGE `name` `title` VARCHAR(255);
Alter an existing record on a table
It’s very likely that you’re going to run into a situation where you might need to update some information on an existing table. Perhaps if you have a list of clients and one of them wants to update their email address to a new one, or change their last name - you might want to just alter an existing record rather than deleting and recreating a new one. The command to do this would look like:
UPDATE table_name
SET column1 = value1, column2 = value2, ...
WHERE condition;
Let’s apply this to our example. Imagine we just closed a deal on one of our houses and we want to update the record so that isSold now equals 1 (or true). We could update that record using the following command:
UPDATE listings
SET isSold = 1
WHERE id = 1;
All about practice
Go practice these commands by creating a table for vehicles. What kind of columns would you want to use? How would you insert records to represent new vehicles or update old records? Practice these commands until you become more comfortable with them.
Queries and the SELECT statement
Queries can be used to do a lot of things with data in your SQL database, but one of the most common queries is retrieving data by using the SELECT statement. In this section, we will discuss different ways you can select data:
- Selecting all data on a table
- Selecting all data on a table where a condition is met
- Selecting only some fields on a table
- Limiting your selection to only a number of rows
SELECT All
The command to select everything from a table uses the following format:
SELECT * FROM tableName;
Say you wanted to send out a promotional flyer to all of your customers. You probably have a table in your SQL database that has all of your customer information in it. You could select all of your customers information by using the following query:
SELECT * FROM customerInfo;
The asterisk indicates that you want every field to be returned. Awesome, you now have all of the information for every single one of your customers.
Selecting all data on a table where a condition is met
This is great, but maybe you need to narrow your search a little bit. Perhaps you have customers who have unsubscribed to your mailing list and would rather not recieve a flyer. You could narrow your search by selecting all data where a condition is met. The format for this query uses the following format:
SELECT * FROM table_name
WHERE condition;
We can employ this format in our example by using the command:
SELECT * FROM customer_info
WHERE is_subscribed = 1;
Which will return all of the information for every customer who is currently subscribed to your mailing list (is_subscribed here would be of type tinyint).
Selecting some fields where a condition is met
So we’ve been able to narrow our search somewhat, but we can make our query even more efficient by only selecting the information we actually need. Let’s assume your Customer Information table has many fields on it, including notes on past transactions, birthdates, email addresses…etc. You only need to know their first name, last name, and their current address. You can limit the fields that are returned in your queries by specifying which columns you would like to target. The format for this would be:
SELECT field_name1, field_name2
FROM table_name
WHERE condition
In our example, our query would look like:
SELECT first_name, last_name, address
FROM customer_info
WHERE is_subscribed = 1
This would limit your search by returning only the fields you need to accomplish your task of mailing your flyers.
Using the Limit Keyword
You can limit your search even further by using the LIMIT keyword which will limit the number of records returned.
SELECT field_name1, field_name2
FROM table_name
WHERE condition
LIMIT number_of_rows
You could limit your search to the first fifty customers by using the following command:
SELECT first_name, last_name, address
FROM customer_info
WHERE is_subscribed = 1
LIMIT 50;
A common practice when building an application that consumes large amounts of data is to use LIMIT with and OFFSET, Doing this makes for easy pagination requests. The Offset query is executed when passing 2 parameters to the LIMIT command.
SELECT field_name1, field_name2
FROM table_name
WHERE condition
LIMIT offset number_of_rows
So we could retrieve the next 50 customers by running the following command
SELECT first_name, last_name, address
FROM customer_info
WHERE is_subscribed = 1
LIMIT 50 50; -- Retrieve rows 51 - 100
Challenge yourself
These are only a few ways that you can focus your searches to make them more efficient. I encourage you to think of other ways you might need to select information. What if you wanted to use multiple conditions? How would you do AND statements or OR statements with SQL?